Sewn Accessory Sample Checklist Before Development
A practical checklist for reviewing function, dimensions, materials, branding, packaging and commercial context before a sewn accessory sample.
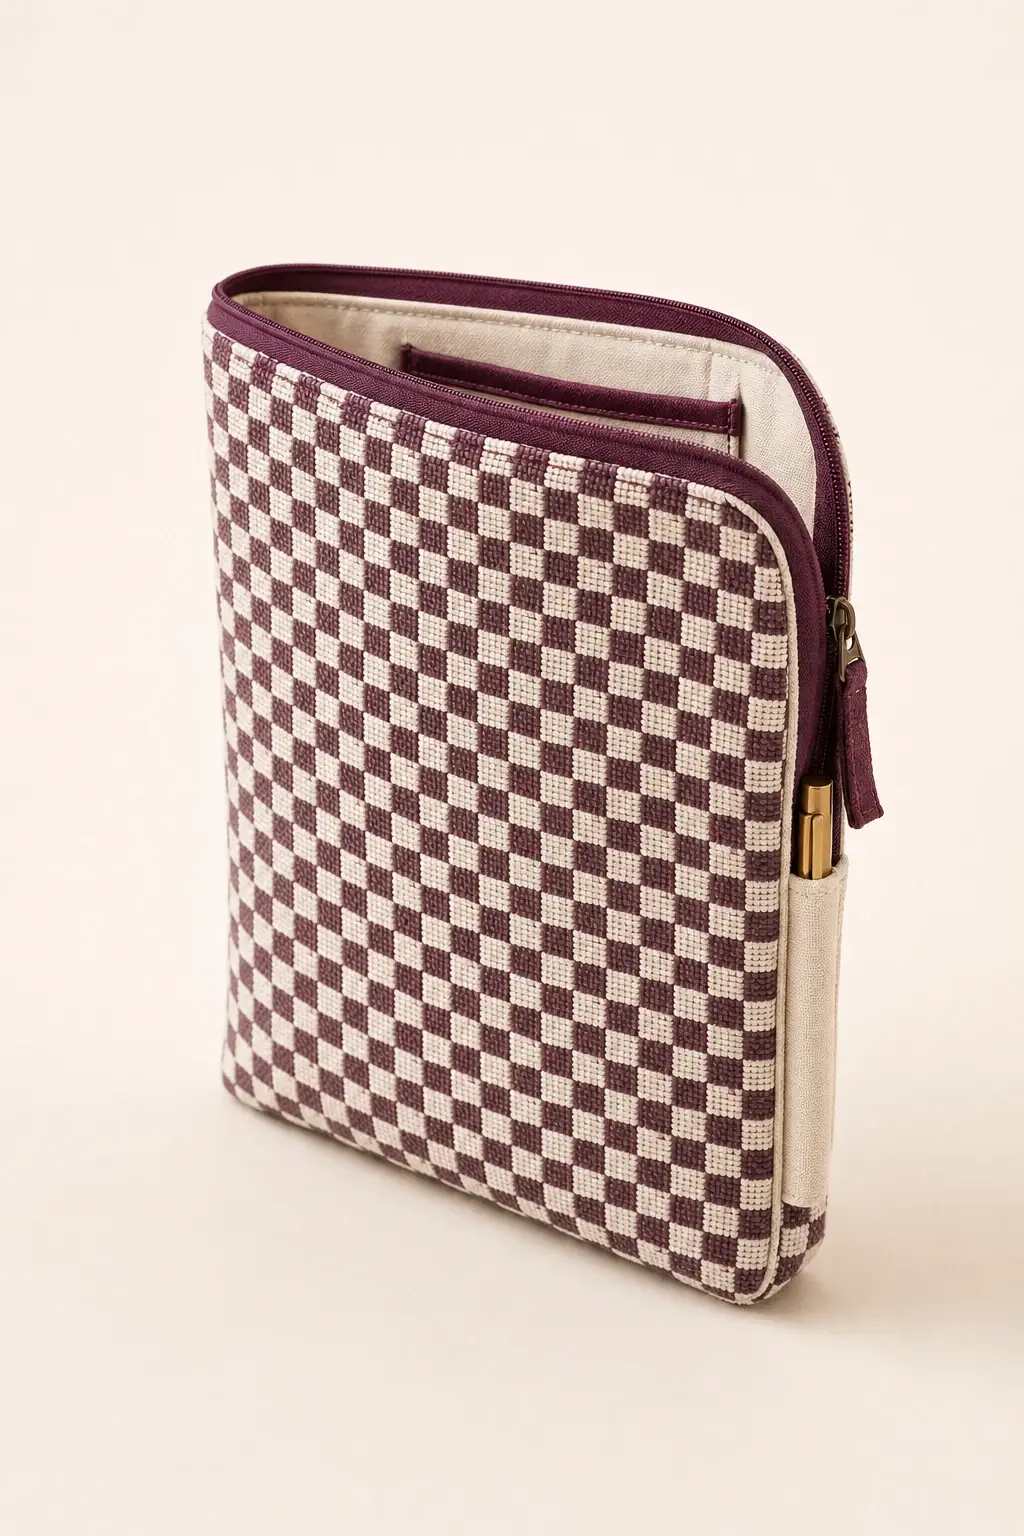
Sampling is useful when it closes a decision. A request made only to “see how it looks” creates vague feedback and repeated revisions.
The conclusion: before requesting a sewn accessory sample, define the product question, prepare measured references, separate required details from preferences, and decide how the sample will be reviewed. You can start from an idea, reference image, tech pack or existing sample, but the reviewer must understand what each input is meant to communicate.
1. State what this sample must prove
Write one primary sample objective. Examples include:
- Confirm whether a sleep mask provides the intended coverage without uncomfortable pressure.
- Compare two hair-bow proportions before selecting a lead size.
- Test whether a lining, padding and closure combination produces the intended hand feel.
- Check whether branding and packaging fit the product without creating excess bulk.
One sample can answer related questions, but it should not carry every color and packaging decision at once. Prioritize function before decorative variations.
2. Prepare the product context
Describe the intended user, use moment and selling context. A hospitality sleep mask, a creator-led hair accessory and a retail gift set may use similar materials but need different comfort, presentation and quality priorities.
Include:
- Intended audience and use.
- Product category and one-sentence value proposition.
- Retail, gifting, subscription, hospitality or promotional context.
- Must-have features.
- Known compliance, care or labeling needs that the buyer will verify.
If the brief depends on protected artwork, licensed characters or another party’s design, provide authorization or replace it with original, brand-owned direction. A reference image can explain a feature without becoming an instruction to copy.
3. Add dimensions and fit information
Use a dimensioned sketch, a table or annotated photographs. Show overall width and height plus the measurements that control function: opening, elastic length, bow span, coverage area, seam allowance, pocket depth or finished folded size.
When dimensions are not fixed, provide the object the product must fit and measure that object. Do not rely on labels such as “standard,” “large” or “travel size” when the intended fit can be measured.
For a sleep mask, the checklist may include eye coverage, bridge shape, padding thickness and elastic range. For hair accessories, it may include finished silhouette, gathering ratio, attachment method and comfort.
4. Define the construction
List the layers and the sequence as far as you understand them. Mark uncertain points for development review.
- Outer material and grain or print direction.
- Lining and any interlining, padding or reinforcement.
- Closure, elastic, tie, clip or attachment.
- Edge finish, topstitching and visible seam expectations.
- Label, embroidery, print or hardware placement.
- Areas where bulk, stress or comfort needs testing.
A reference product can help explain the intended construction. Photograph it from several angles, include a ruler, and state what should be retained or changed. If the existing sample belongs to another brand, use it as functional reference rather than as a design to duplicate.
5. Describe material performance
Color alone is not a material specification. Describe softness, drape, surface sheen, stretch, opacity, breathability, weight, recovery and cleaning expectations where relevant.
If you nominate a fabric, provide a physical swatch or traceable specification. If the studio will source options, rank your priorities. For example: “soft contact surface is mandatory; exact fiber is open; lead color should match the supplied standard as closely as the approved supply route allows.”
Available fabric can support a limited run, but stock, shade, defects and repeatability still require confirmation. Custom dyeing, printing or branded components can introduce different minimums. Read the MOQ and sampling guide for the relationship between materials and finished quantity.
6. Map colors, trims and branding
Prepare a variant table even for a small range:
| Variant | Outer | Lining | Trim | Branding | Planned units |
|---|---|---|---|---|---|
| Lead color | Color standard or swatch | Shared or specific | Elastic/zip/thread | Label or embroidery | Quantity |
| Second color | Color standard or swatch | Shared or specific | Elastic/zip/thread | Label or embroidery | Quantity |
This reveals which components can be shared and which create separate purchasing requirements. Supply vector artwork for logos and define finished size, placement and color. A large logo is not automatically clearer; confirm the branding method on the physical sample.
7. Include packaging before approval
State whether the sample must be folded, hung, bagged, wrapped or placed in a set. Packaging can affect product dimensions, label placement and presentation.
Prepare:
- Packaging type and finished size.
- Insert, care, barcode or warning content.
- Whether components are sold as a fixed set.
- Retail-display or shipping constraints.
- Original artwork and approval responsibility.
Packaging can have a larger minimum than the sewn item. A paper band, hangtag or standard pouch may be a better test route than a custom box. Review private-label packaging coordination as part of the product plan.
8. Provide commercial context without turning it into a promise
Share the planning quantity, units by variant, selling channel, target retail or cost context and desired launch window. These inputs help evaluate the route, but they do not confirm MOQ, price or timing before the specification and supply path are reviewed.
Smaller runs may cost more per unit because setup and quality work are spread across fewer pieces. If the economics are tight, identify which features may change.
9. Create an approval method
Assign one decision owner. Consolidate feedback rather than sending conflicting comments from several people. Review the sample against a checklist:
- Measure all functional dimensions.
- Test fit, coverage, opening, closure and attachment.
- Inspect seam consistency, bulk, symmetry and finishing.
- Compare material and color to the approved reference.
- Check label, artwork and packaging position.
- Photograph issues and annotate the required change.
- Mark each item approved, revise or still open.
Keep the reviewed sample or a controlled approval record. After a structural or material change, reconfirm cost, MOQ and schedule. Sample approval is not production authorization; the final specification and commercial terms still need written confirmation.
For a later bulk order, decide separately how lot acceptance will be assessed and recorded. ISO 2859-1:2026 describes sampling procedures for inspection by attributes, but the inspection level, acceptance criteria, responsible party and reporting method must be agreed for the project. This article does not imply that an AQL inspection is included by default.
Common risks
Common risks include unlabeled references, conflicting priorities, late packaging changes, screen-only color approval, undocumented substitutions and subjective feedback without a measurable change.
Reference and product sample images can guide mood, silhouette and visible details, but an image alone does not fix comfort, construction or supply requirements. Confirm those points through physical sampling and written specifications before sharing a production claim internally or publicly.
Frequently asked questions
Can I request a sample with only a reference image?
Yes, if you label what the image communicates and add intended use, dimensions, material direction and quantity context. The studio may return clarification questions before accepting a sample scope.
Should every color be sampled?
Not always. If construction is identical, one lead color may test function while swatches or component approvals cover other colors. A visually or materially different colorway may need its own test.
How many revision rounds are normal?
There is no responsible universal number. Complexity, quality of the first brief and the type of change determine the revision path. Confirm scope after review rather than treating a template timeline as a promise.
What is the next step?
If the checklist is complete, send the project brief. Include the primary sample question and only files you own or are authorized to use.
Sources and further reading
- ISO 2859-1:2026: Sampling procedures for inspection by attributes
- US Federal Trade Commission: Clothing and Textiles
The sources above are provided for planning context. Product, market and inspection requirements remain project-specific.